Make your first stitch
Try the sample
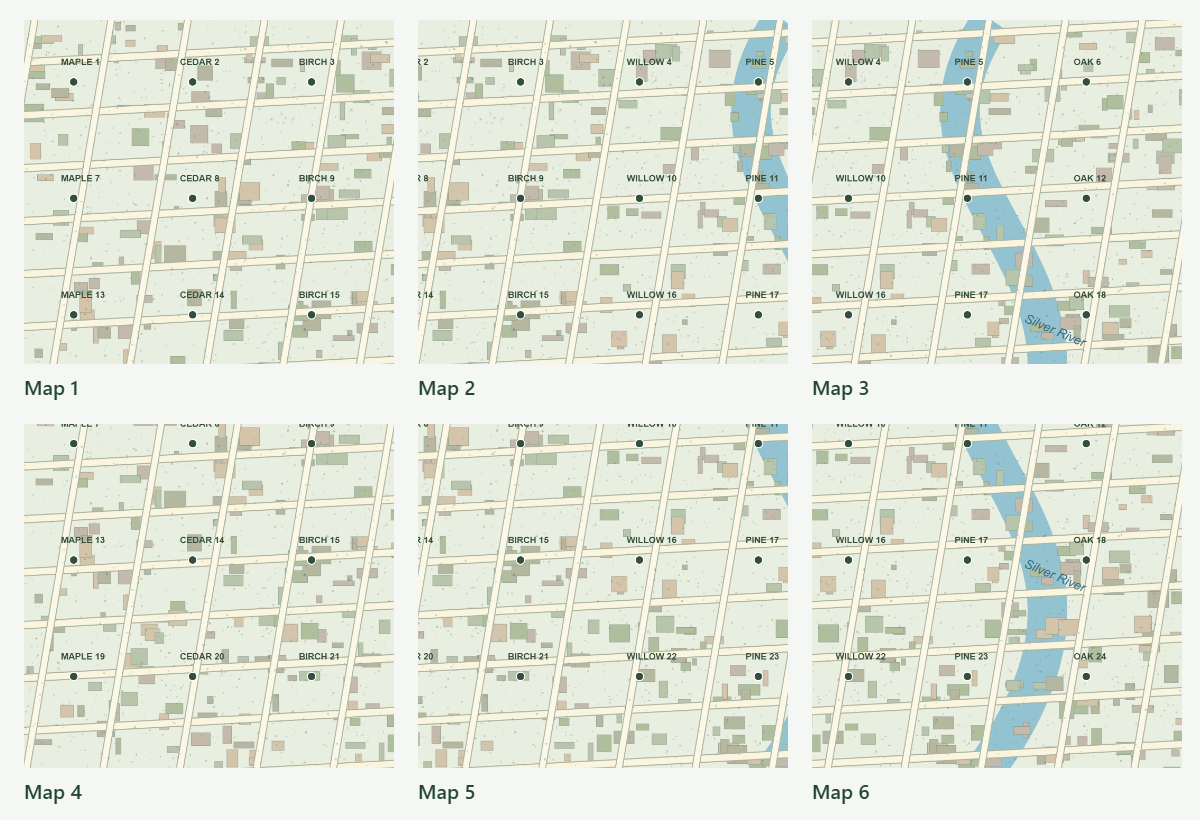
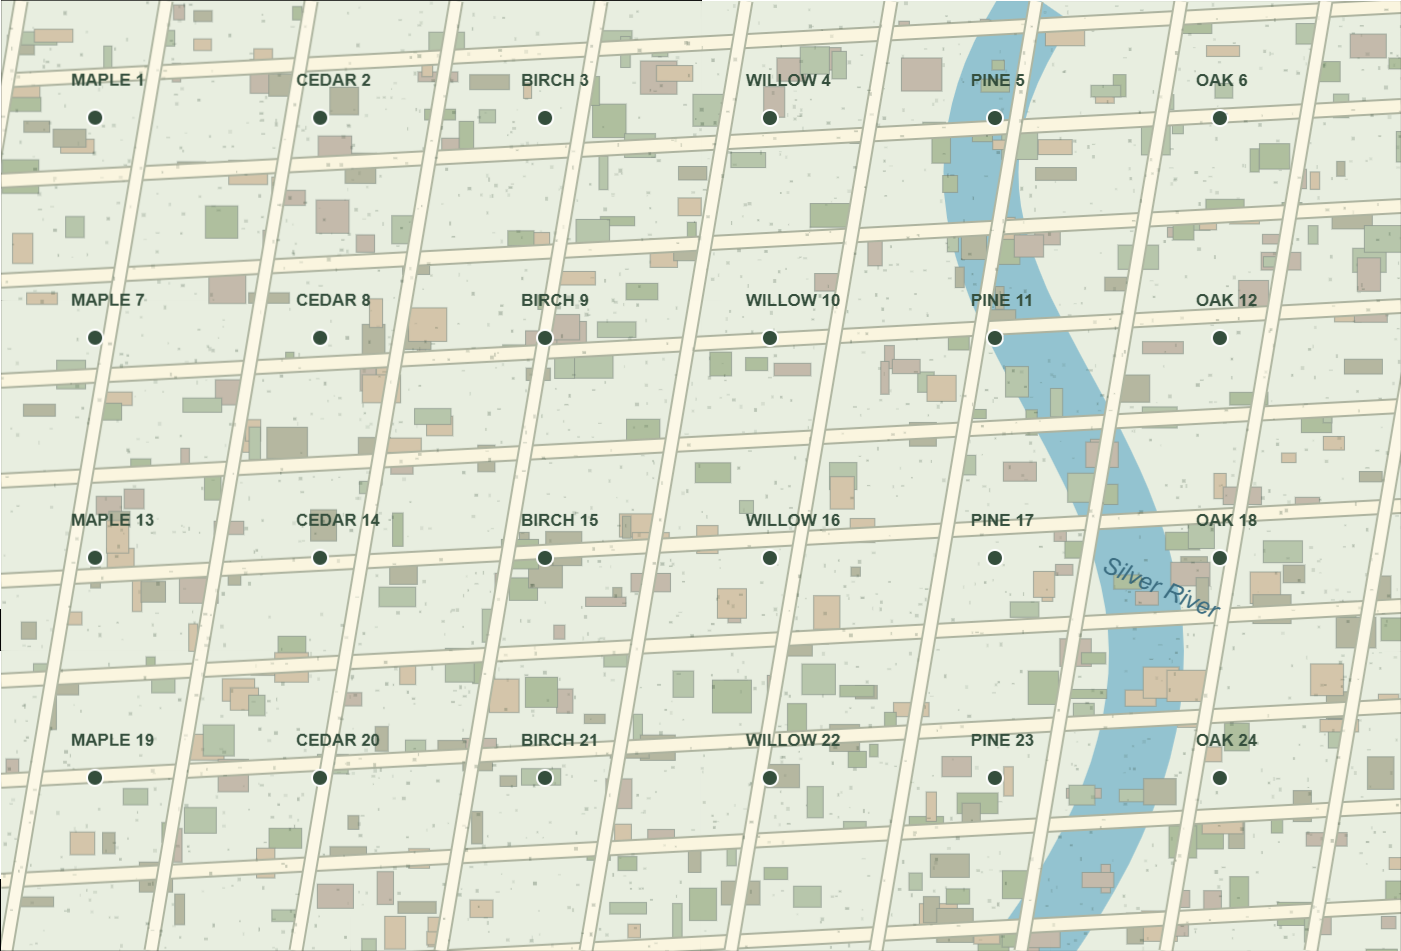
Choose Map mosaic under Try a sample set. It loads six overlapping pieces of a fictional map. Click Stitch images to see how it works. You can download the sample images too.
Add your own scans
Click Remove all, then Add images. Choose scans of the same document, with about 30–60% overlap between neighbouring sections. The order of the files does not have to match their position.
Choose the scene type
Select Maps & flat scans for scanned paper or map sections. Use Photographs — perspective mosaic for overlapping camera images with modest changes in viewpoint.
Choose the output size
Start with Balanced matching detail and the 8-megapixel output limit. Leave Blend overlapping edges and Balance exposure selected for the first attempt.
Stitch and read the report
Click Stitch images. Each source must connect to the same scene through an overlap. If matching fails, read the message and check for a missing section or too little shared detail.
Inspect the joins
Choose 100% and look along lines, text and image edges. Watch for doubled letters, bent lines or misplaced sections. A completed stitch still needs a visual check.
Export the image
Click Export stitched image, choose PNG, JPEG or WebP, then Save image. PNG keeps transparent outer edges; JPEG puts them on a white background.
What works best
Use sharp images with similar brightness. Repeated patterns, moving objects, large viewpoint changes and blank areas can cause poor matches. More images do not help if they do not share useful detail.
The web app accepts 2–40 images, up to 16 megapixels each, with a combined source limit of 64 megapixels. Export size is capped by the output limit you choose. Perspective mode is for a visual mosaic, not a 360° panorama. Map results have no geographic coordinates and are not survey measurements.